Do you want to unlock the full potential of your Chromebook by enabling Linux (Crostini), but don’t know where to start? You’re in the right place! This guide will walk you through an easy step-by-step process to enable Linux on your Chromebook, even if your school has disabled developer mode or blocked Linux OS settings.
- Make sure your Chromebook is running Chrome OS version 69 or later.
- Go to Settings > Developers > Linux (Beta) and click “Turn On.”
- Follow the on-screen instructions to complete the setup, choosing a username and allocating disk space.
- Open the Linux terminal to start using Linux on your Chromebook.

There is no doubt that my Chromebook is best for browsing, writing, using Android apps, and even running Windows 11. But when it comes to coding or development, it falls short. This is when I remembered that Linux offers a flexible environment perfect for coding. That’s why I decided to enable Linux on my ChromeOS.
If you also want to enable Linux on your Chromebook, then in this guide, I’ve mentioned 3 easy steps to guide you through the process.
Related Guides:
- 75+ Chromebook Keyboard Shortcuts
- How to Install Chrome OS on Windows Dual Boot
- Install Chrome OS on VMWare with FydeOS
- List of Chromebooks that support Windows OS
- List of Chromebooks that support Linux
What is Linux on Chromebook?
Linux on Chromebook, also known as Crostini, allows you to run a full-fledged Linux environment side by side with Chrome OS. This means you can use Linux apps and terminal without using dual-boot or external hardware.
Reasons to enable Linux on Chromebook
- Linux lets you use coding tools like code editors and IDEs on your Chromebook.
- Access software not available on Android or in the browser, like LibreOffice and GIMP.
- Provides a full desktop productivity suite for tasks that ChromeOS can’t handle.
- Offers advanced photo editing with GIMP, surpassing many Android apps.
- Supports video editing tools like OpenShot and Shotcut for more features than Android apps.
- Allows use of complex development tools for languages like Java, Python, and C++.
- Learning Linux adds valuable skills and expands your tech knowledge.
Steps to enable Linux on any Chromebook
Follow these three steps to enable Linux development environment on your School Chromebook.
Step 1: Check Compatibility
First, make sure your Chromebook supports Linux (Crostini). To check this, search Linux in the settings. If you see it, your Chromebook is compatible.
Step 2: Enable Linux (Beta)
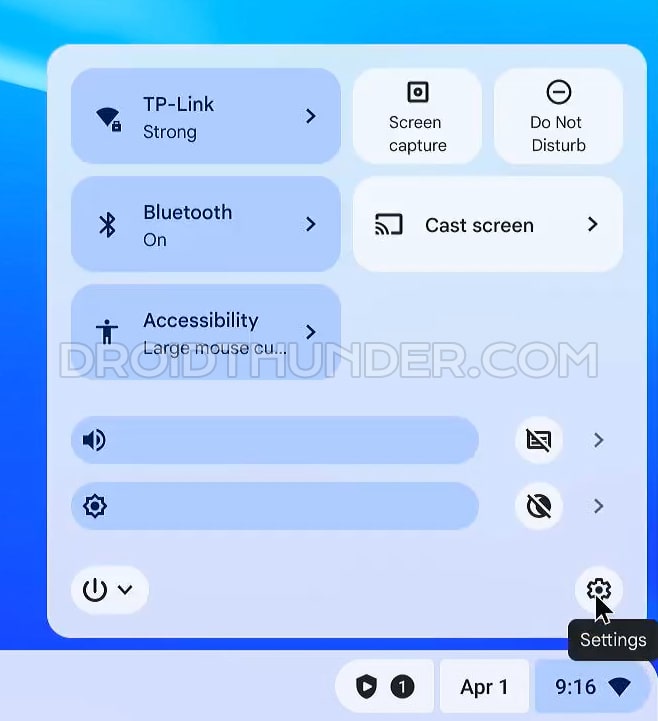
- Open your Chromebook Settings by clicking on the time in the bottom-right corner and selecting the gear icon.
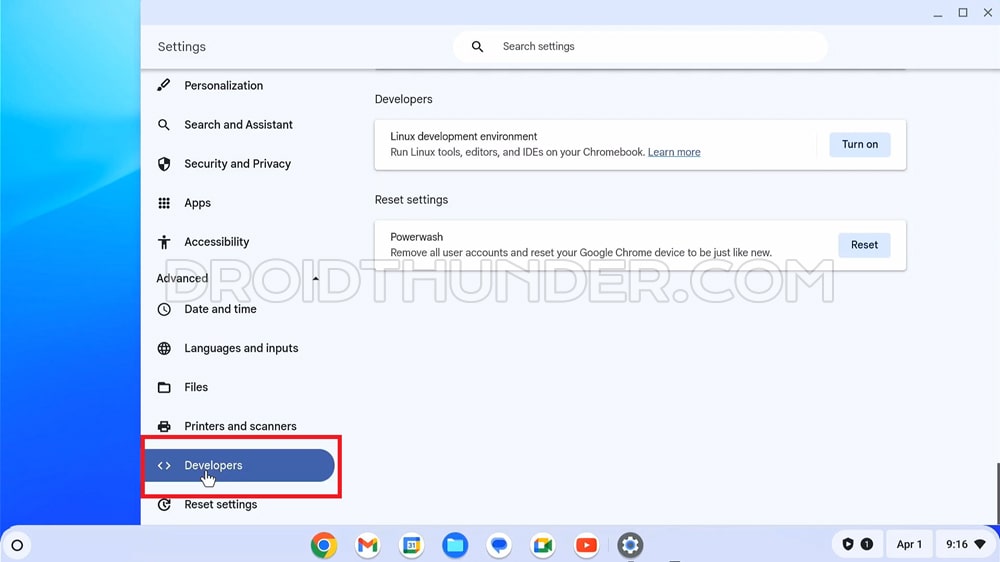
- Scroll down and click on Advanced.

- Under Advanced, click on the Developers option.
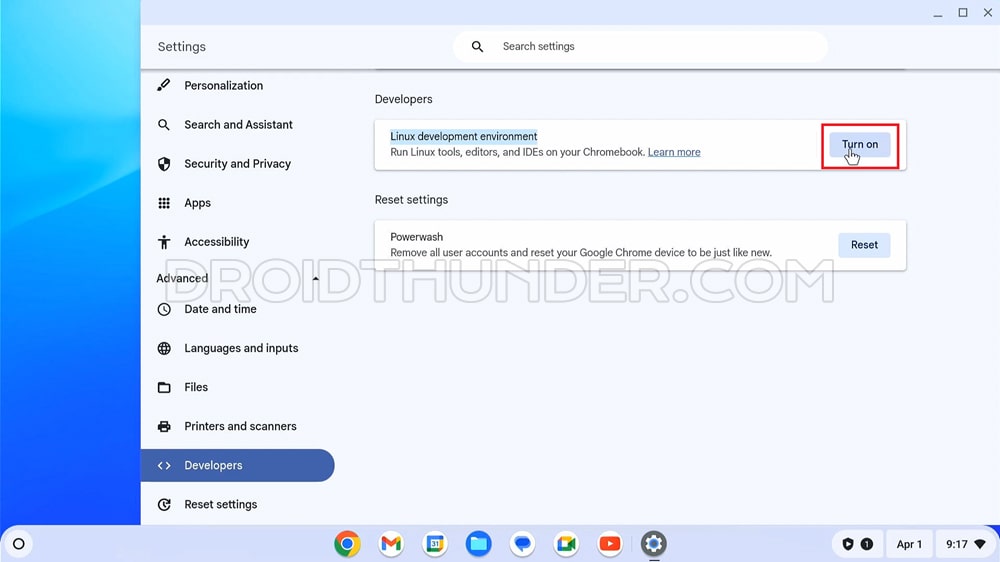
- Click Turn on for Linux development environment.
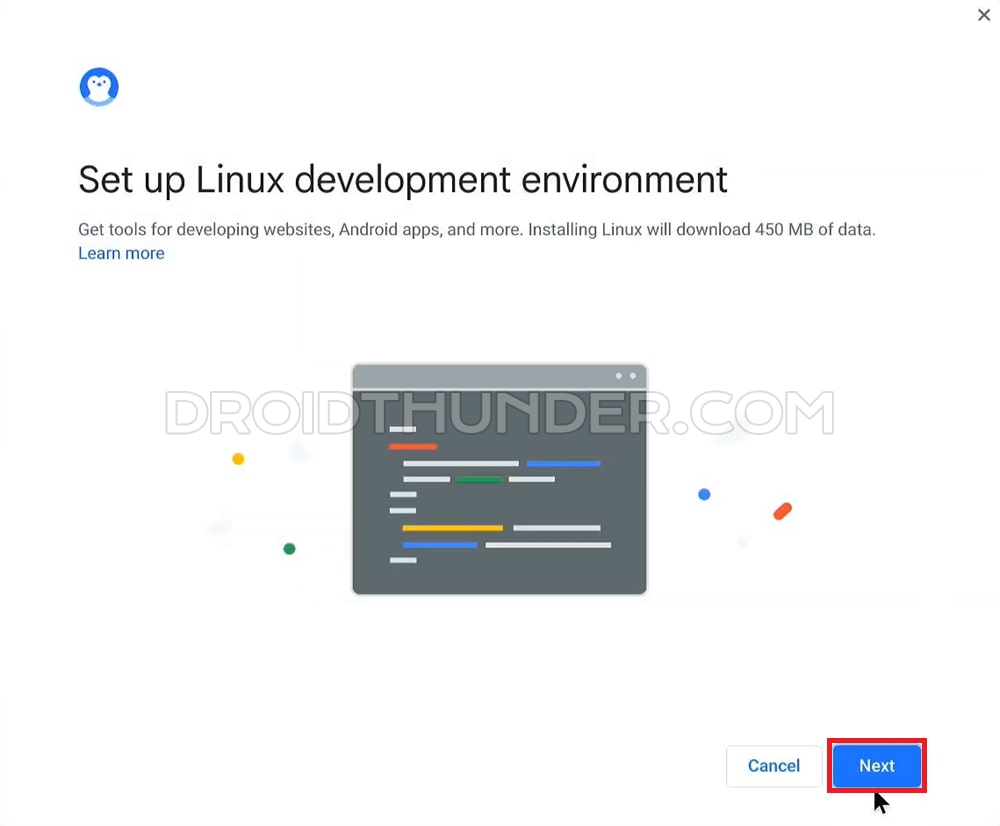
- A setup window will appear. Click Next.
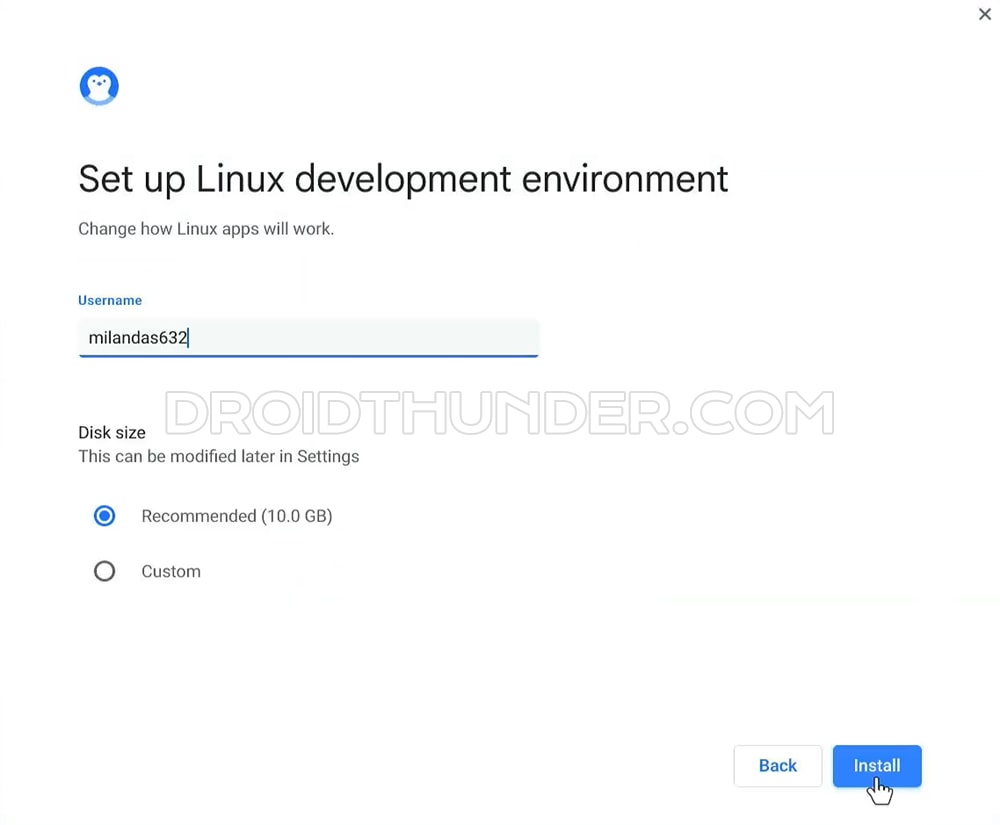
- Enter your preferred username and disk size (you can leave the default settings if you’re unsure).
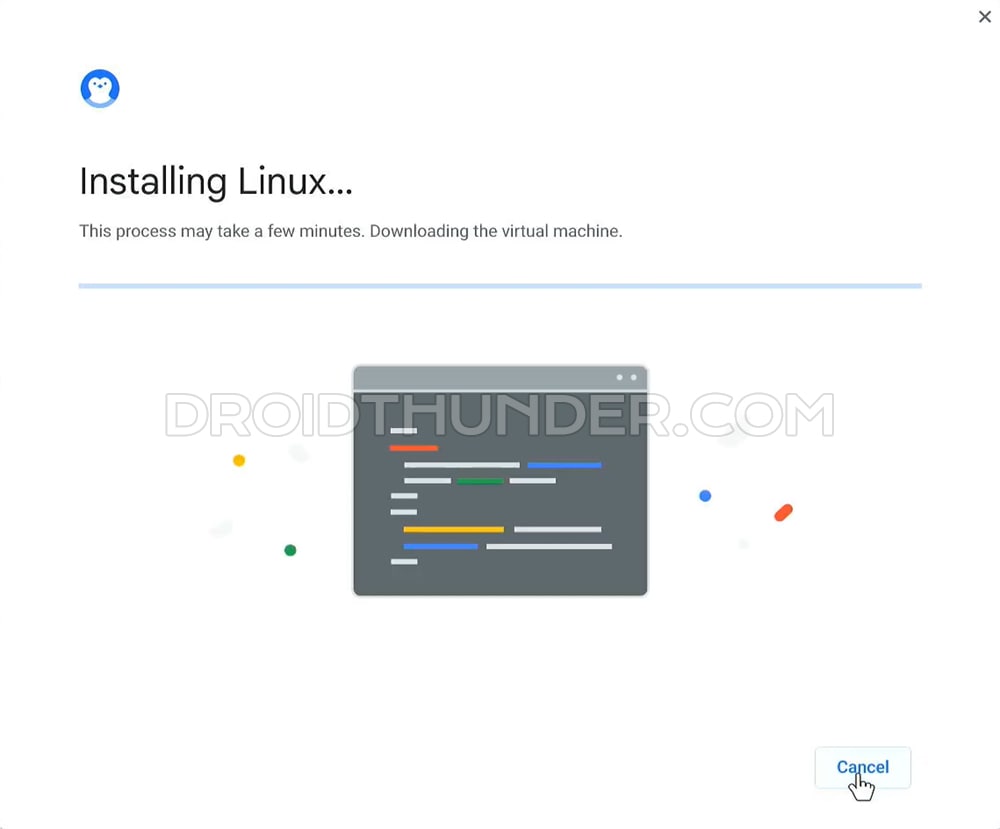
- Click Install. The installation process will take a few minutes.
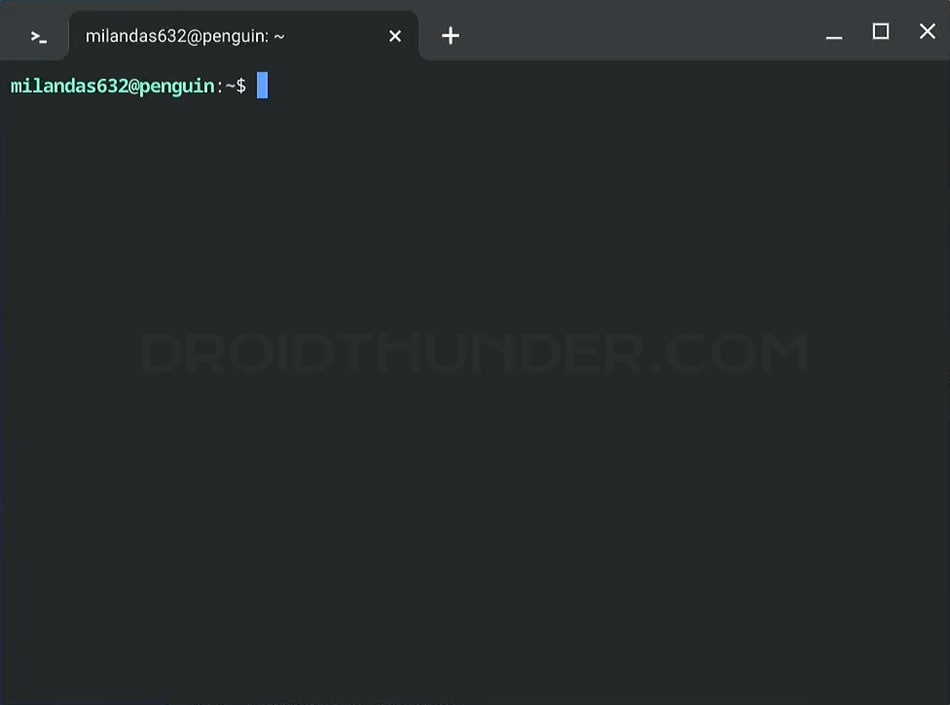
- Upcon completion, a terminal window will appear. This means you’ve successfully enabled the Linux (Beta) on your Chromebook.
Step 3: Update Linux
Once Linux is installed, it’s important to keep it updated. Open the Terminal (you can find it in your app launcher under Linux apps) and type the following command and hit enter key:
sudo apt update && sudo apt upgrade

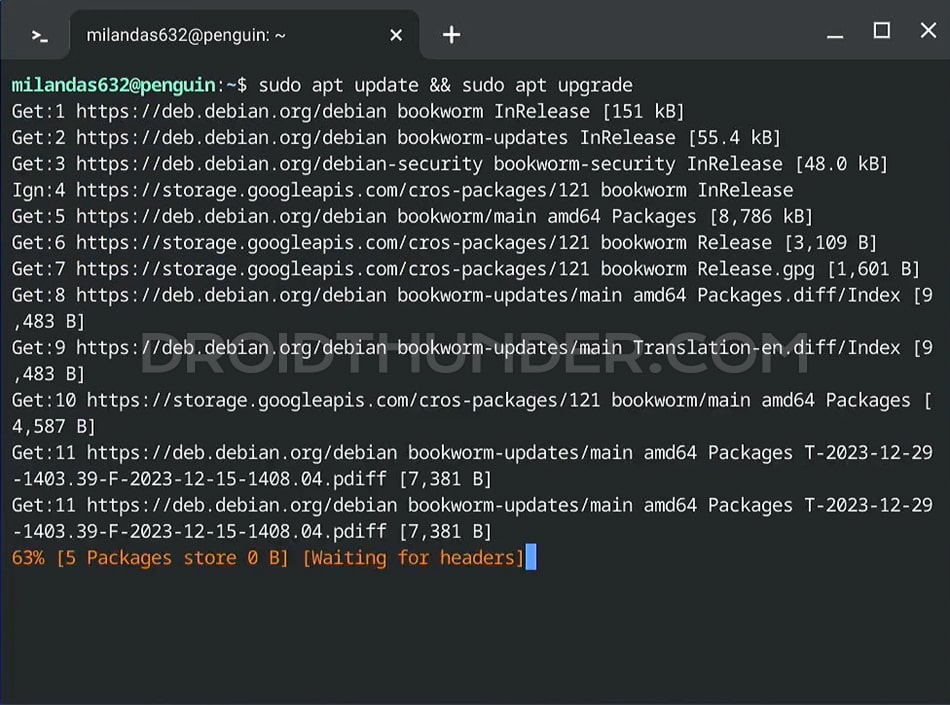
This command will update Linux packages and also upgrade ChromeOS to the latest release.
Conclusion
Finally! This is how you can easily turn on Linux on Chromebook in 3 simple steps. Now you can install Linux applications or use coding tools like IDEs. So go ahead, give it a try, and unlock the full potential of your Chromebook.