If you are looking for a way to get a fully-functional Android TV image running on your PC, we have some good news. The Android TV installation requires you to have Android Studio on your Windows, Linux, or Mac PC. The Android TV OS will run in a virtual environment on top of your current OS, just like how a virtual machine works. So, you don’t need to format, change drive to ext4, flash USB, etc., to get this thing to work. Interested in knowing how? The steps given in this guide will help you install Android TV on your PC.
Install Android TV on a Windows PC
There are many ways you can install Android TV on a PC. But all of them require a particular environment to install and execute. For example, you can download an Android TV Pie ISO. With the help of a few software, you can boot Android TV alongside Windows or Linux. Another way to install Android TV on a PC is by using a virtual machine.
Did you know? You can install Android apps on Windows 11 without using any emulator
In my opinion, It is a bit of a hassle trying to run Android TV using these techniques. Let me share some of the challenges that I faced during the installation.
The traditional USB flashing way
- Involves booting Android TV from the BIOS, which could get a bit technical for some users.
- Couldn’t get the updated Android TV ISO image. The latest image circulating on the web is of Android 9 Pie.
- If something goes wrong with the selection, it possesses the power of wiping the entire hard disk.
- The Android TV image is unstable. For example, you can not play any videos on it, and there is no fix available yet.
The Virtual Machine way
- The Android TV image available for the virtual machine is Android 9 Pie, which is quite old.
- You can not use a mouse inside the virtual machine unless you implement a few particular steps.
- The virtual image is available only for Oracle Virtual box. I couldn’t find a compatible Android TV virtual machine image for VMWare or Hyper-V platforms.
After experiencing the issues mentioned above, I was on the verge of giving up on the Android TV installation on my PC. But then I remembered Android Studio. Having seen the TV category inside Virtual Device Manager made me excited, and I immediately opened Android Studio. The Android TV option was right there. Unlike Android TV ISO or virtual image (which contains Android 9 Pie), Android Studio had all the Android versions from old to new. I quickly chose Android 12.0 (Android S), and within a few minutes, Android TV was up and running on my PC.
Since Android Studio is available for all the popular operating systems, you can run Android TV seamlessly on Windows, Linux, or Mac PC. Let me show you the steps needed to install Android TV on your system.
Software Downloads
- Download Android Studio stable build (~900 MB) from the Google developer website. I am using a Windows 11 PC for this tutorial, but you can follow the same steps on Linux or Mac.
Install Android Studio
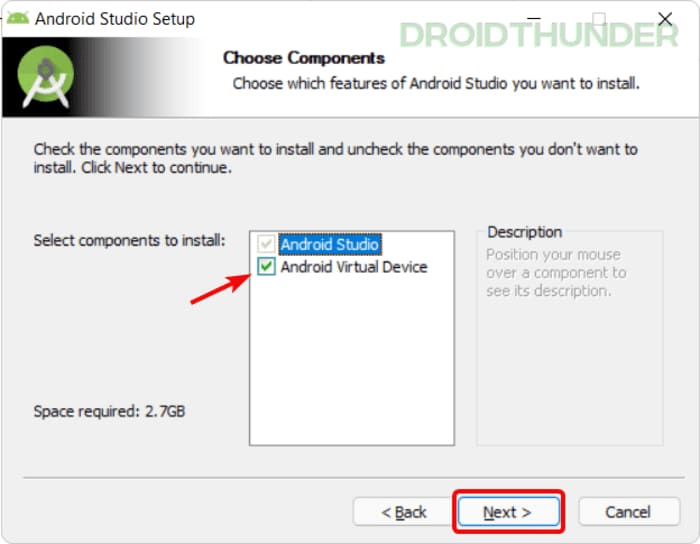
- Run Android Studio setup. Click Next.
- While choosing the components, make sure that the Android Virtual Device option has a tick. Click Next and follow the on-screen instructions to complete the setup.
Create and Install Android TV using Virtual Device Manager
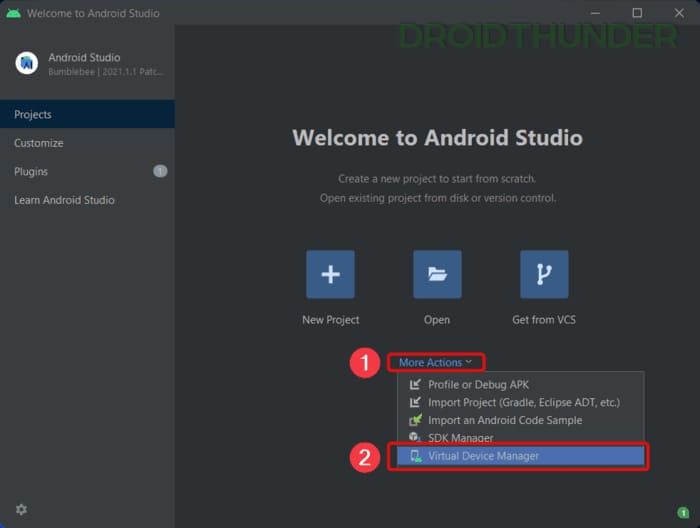
- Once the installation is complete, open Android Studio from the Start menu.
- Click More Actions ˅, and from the list, select Virtual Device Manager.
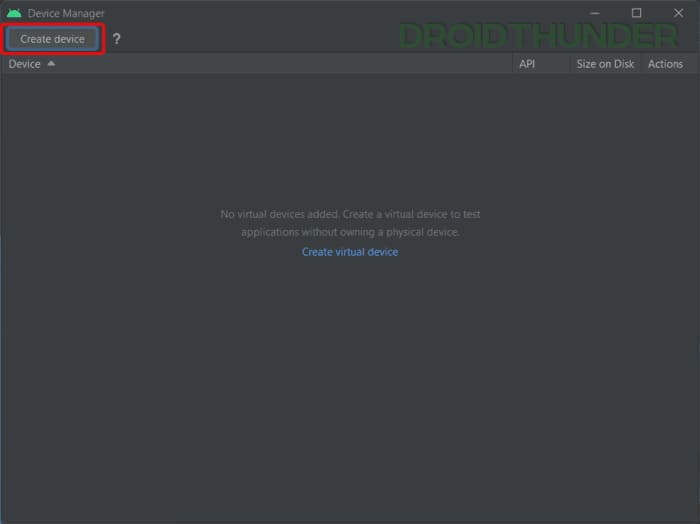
- On the Device Manager window, click on the Create device button located top left of the screen.
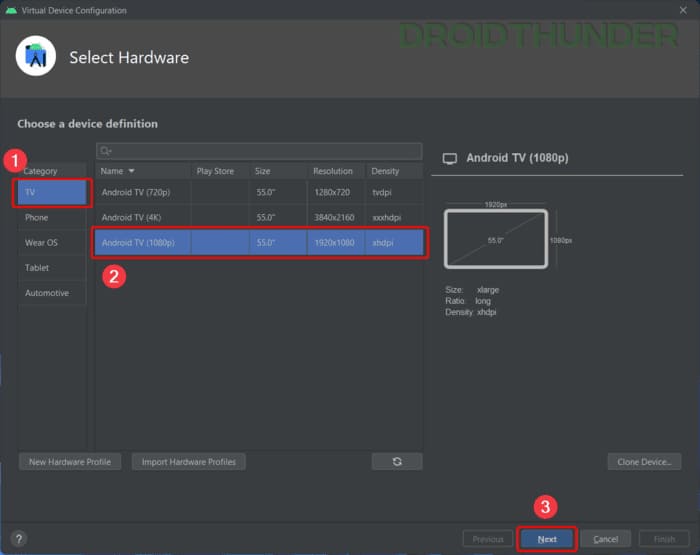
- Select TV from the category on the left side. Here, you have three display resolution choices for the selection. I’ll select Android TV (1080p). If you choose a higher resolution, the overall image size will increase.
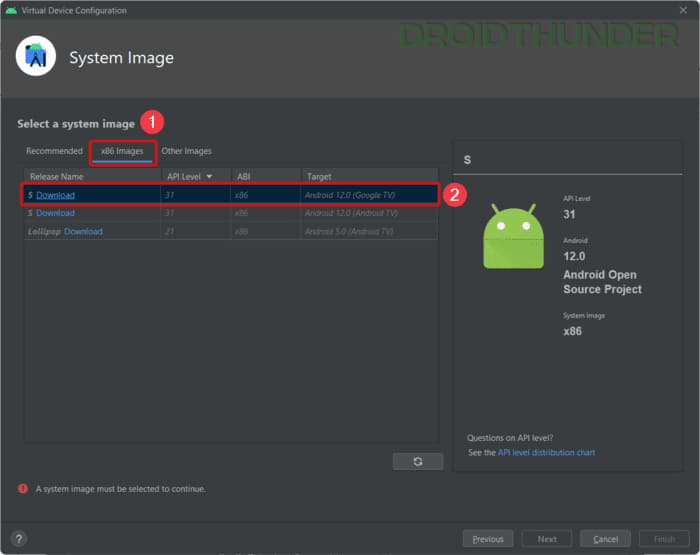
- Next, we need to select System Image for the Android TV installation. You can choose any Android version from the recommended list. However, for the latest version, Android 12, switch to the x86 Images tab and click Download.
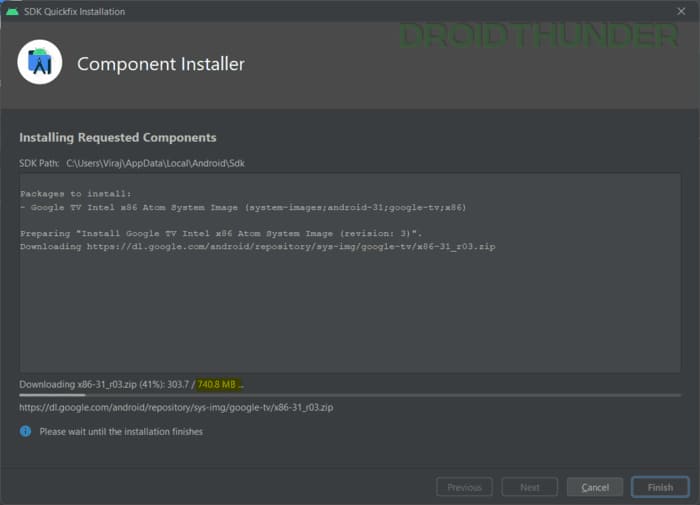
- The Android 12 image size for the Android TV is around 800MB. Once the downloading is complete, Android Studio will unzip the package and start to install Android TV on your PC.
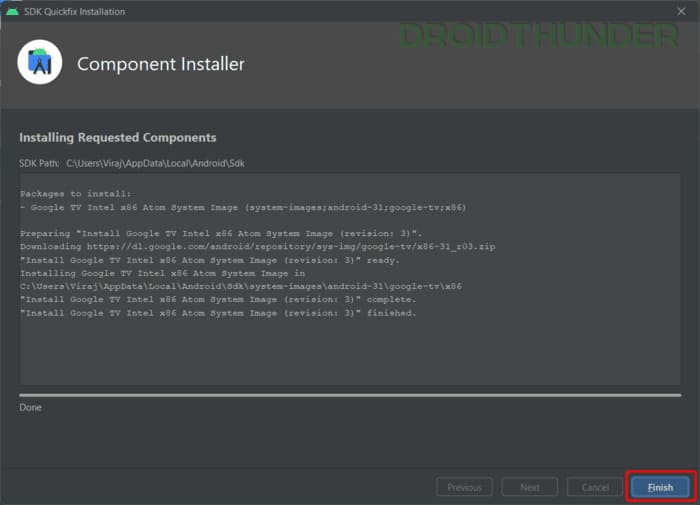
- Click Finish to complete the Android TV installation process.
- Keep settings to default in the Virtual Device Configuration window. However, you can change the highlighted settings shown in the screenshot below.
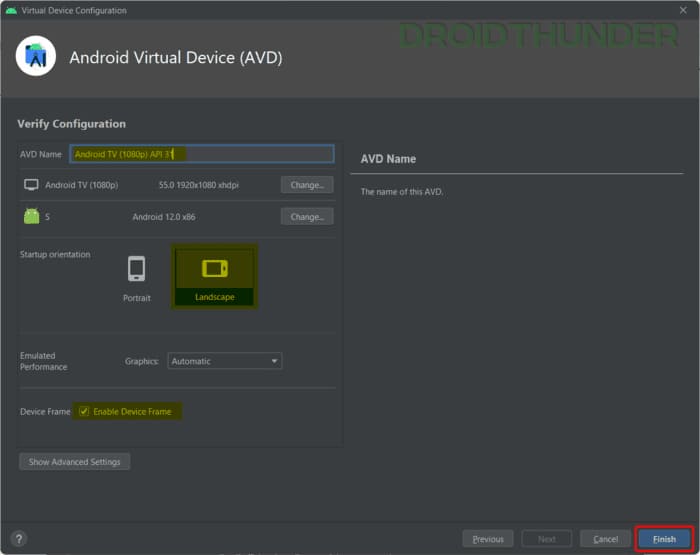
Launch Android 12.0 S Google TV
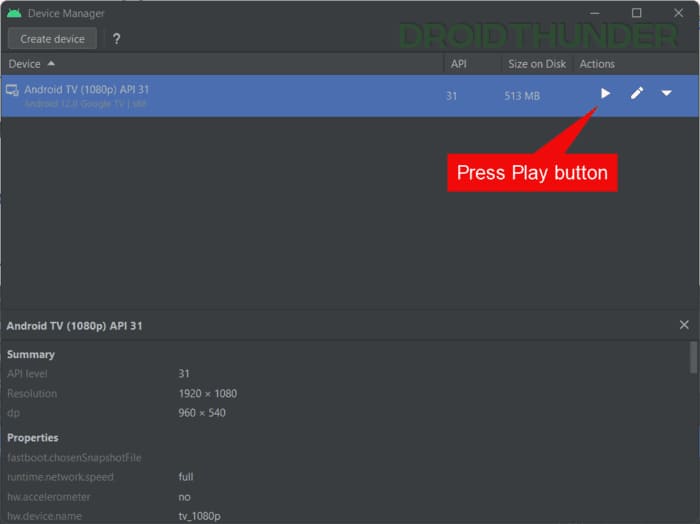
- Now that we have created an Android 12 TV instance, it’s time to run it. Click the Play button under the Actions column to boot Android TV.
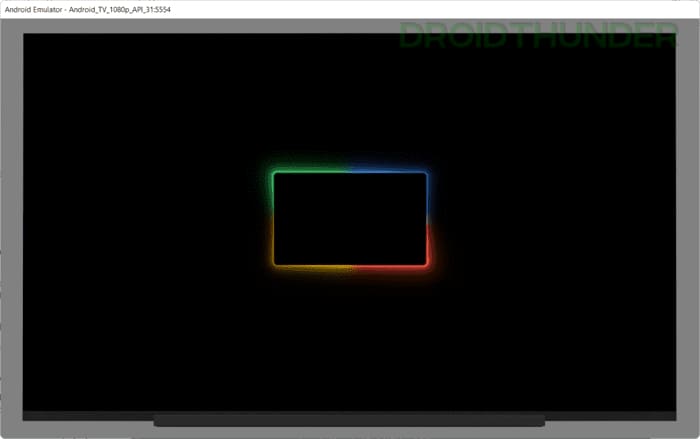
- Android 12 boot animation will start playing on the screen. Wait for 1-2 minutes for Android TV to boot fully.
Setup Android TV
- Once the Android TV boots, you’ll be asked to add your Google account. Click Add account to continue.
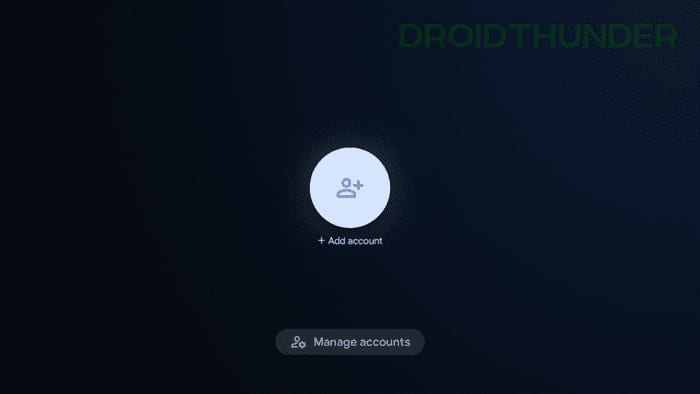
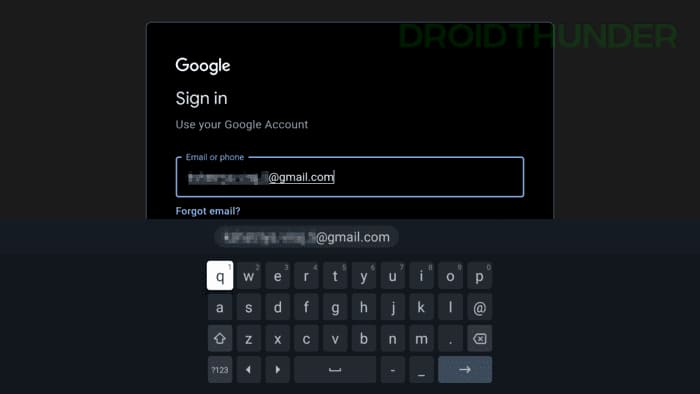
- Next, input your email and press Enter on the keyboard to proceed. On the next screen, input the associated Google account password and press Enter again.
There you go! You have successfully installed Android TV on your PC. Now, use the keyboard arrow keys as TV remote buttons and navigate through the TV.
Android TV running on a PC – Impressions
Of all the ways I tried to run Android TV on my PC, this one stands out as the winner. The experience it provides is smooth. The PC configuration also plays an important role here in achieving flashy performance. We tested Android TV on a system running Windows 11. The specifications were – Core i7-10th gen processor, 32GB RAM, and 4GB graphics memory. So, the performance might vary based on your system configuration.
Related: 8+ YouTube Vanced alternative apps for Android
You can also install any OTT platform apps, such as Amazon Prime, Disney+, HBO Max, Hulu, etc., and play videos from them. You won’t find Netflix in the app list because Netflix restricts its usage in the emulator environment.
Have a look at the screenshots gallery below to get the feel of Android 12 running on Android TV.

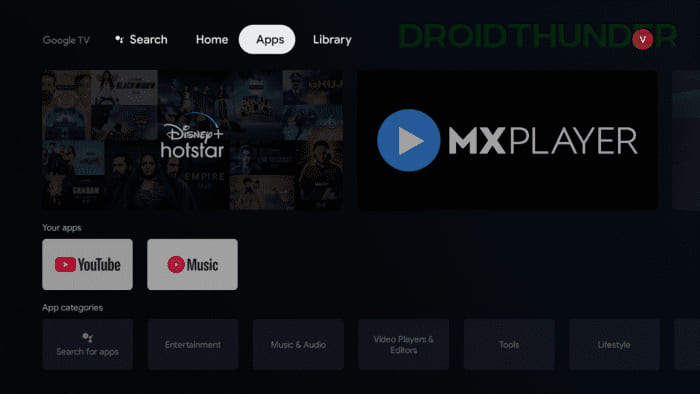
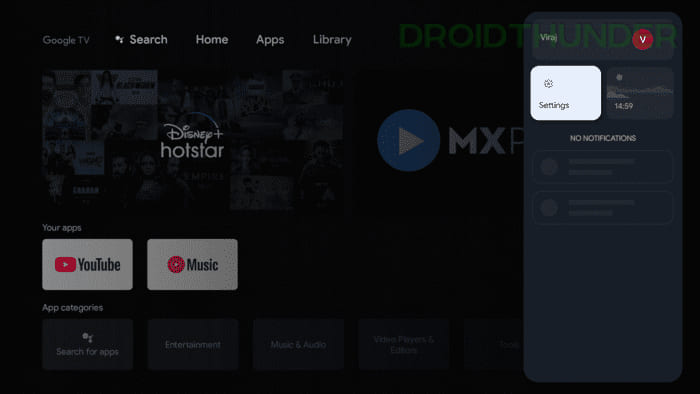
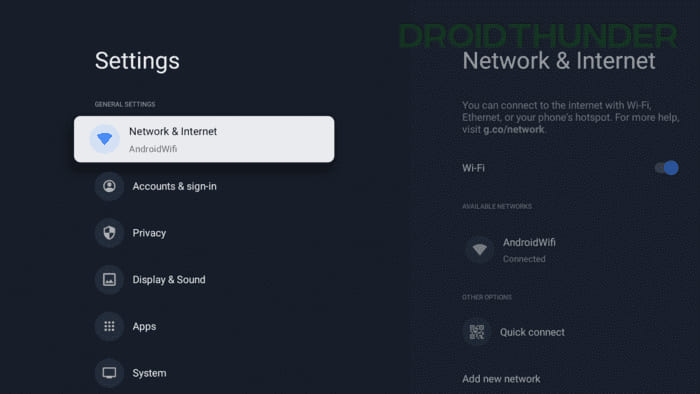
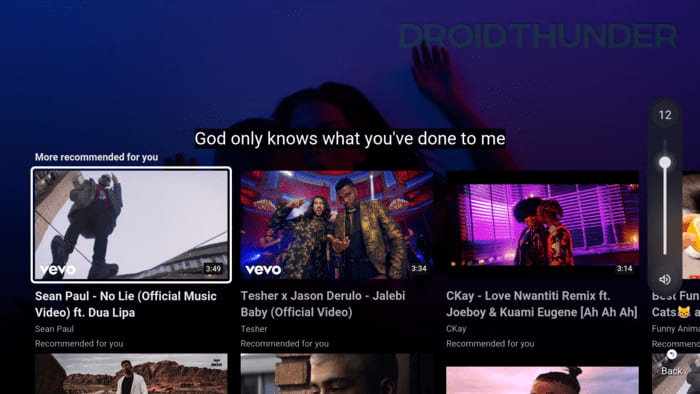
That’s all from us in this article. We hope you found it helpful. You can also check out our guide on installing Android 12L Phone OS on your PC. If you like trying things in a virtual environment, you shouldn’t miss the Chrome OS installation in a virtual machine, either.




6 thoughts on “How to Install and Run Android TV OS on Windows, Mac, or Linux PC”
Your how-to is good, but it does not go far enough.
Several additional questions need to be answered.
Once you have created and used your new tv-vm, how do you save your
config changes? When you shut down the image and then restart the image
do you lose all your changes?
Can this pc tv-image be controlled from a cell phone? How do I make that happen?
Can you provide a discussion on how to created a one-click automated script
to start the image, and/or shut-down the image?
Hi Stephen,
1) The changes you make to the emulator machine are saved automatically. You won’t lose any configuration even if you shut down and restart the device.
2) Unfortunately, you can not control the emulator TV image from a phone.
3) You can make .bat file of the following code to start the emulator. As for shutting down, you can terminate the emulator.exe, again using a .bat file.
cd "C:\Users\Viraj\AppData\Local\Android\Sdk\emulator\"start emulator -avd Android_TV_1080p_API_31
Make sure to replace the bolded part with your account and TV emulator names.
Thanks for the guide. Felt weird though that the 1080p VM won’t run on full-screen in a 1080p windows 11 setup.
Use something like Borderless gaming. It’s on GitHub.
Hi,
The images now include also v13 (either Google tv or android tv). Would you recommend to use v13 and not v12 now? Or is v13 not stable yet?
What is the difference between the two? and why have you selected Google TV?
Thanks
For me, the article was a great help and very useful in localizing an application running on Android TV – not having such a device!
Thank you very much!
Regards,
gidano from Hungary