
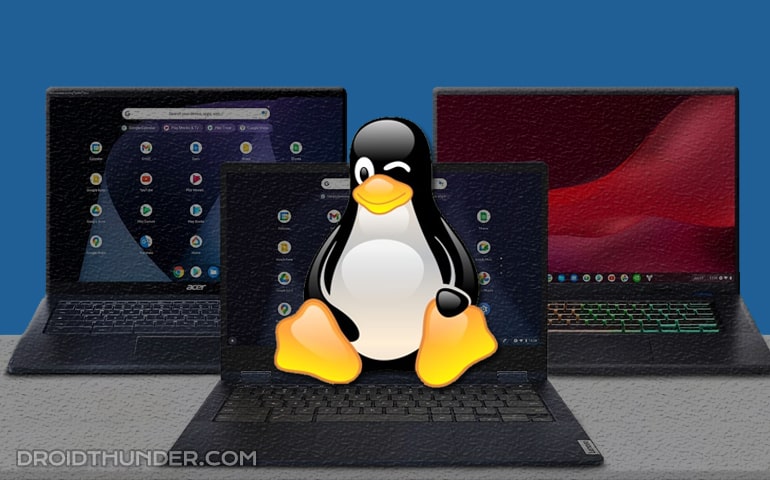
- Installation with USB: Create a bootable USB drive, enable Developer Mode, disable hardware write protection, flash firmware, and boot from the USB to install Windows 11.
- Installation without USB: Enable Developer Mode, activate Linux, install VirtualBox, download Windows 11 ISO, and create a virtual machine to install Windows 11.
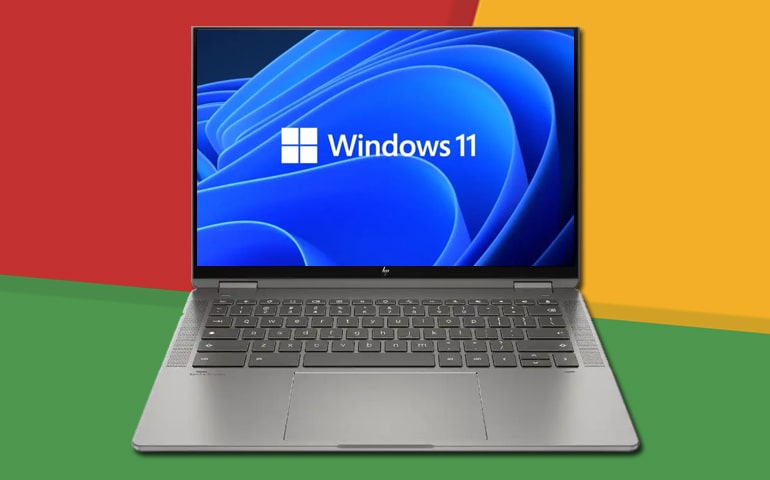
Do you want to install Windows 11 on your Chromebook but don’t have a USB drive? No problem! This guide with show you an easy step-by-step process to install Windows 11 on a Chromebook without USB. Additionally, we’ll also see how to install it using a USB drive for those who have one available.
Disclaimer: Installing Windows 11 on a Chromebook may void your device’s warranty and could lead to potential data loss or hardware issues. We highly recommend you back up all essential data before proceeding. We at Droid Thunder will take no responsibility for any damages or issues. By following these instructions, you agree to proceed at your own risk.
Method 1: Install Windows 11 on Chromebook without USB
To get Windows 11 on your Chromebook without USB, we’ll use a virtual machine, thus bypassing the need for a USB drive. First, let’s go over the things you need to do to ensure that your Chromebook is ready for a smooth installation process.
What You’ll Need
- A compatible Chromebook: Not all models support Windows.
- A stable Internet connection: Needed to download files and drivers.
- Power Supply: Charge your Chromebook to avoid interruptions during installation.
- Backup Data: Save important data because the installation can cause data loss.
- Check Storage Space: Ensure your Chromebook has at least 64GB of free space.
- Chromebook should support KVM (Kernel-based Virtual Machine).
Step-by-Step Installation Guide
Ready to flash Windows OS on your Chromebook? Follow along as we walk you through the process, step by step.
Step 1. Enable Developer Mode
- Turn off your Chromebook.
- Press and hold the Esc + Refresh + Power shortcut keys to reboot into recovery mode.
- A message saying ‘Chrome OS is missing or damaged. Please insert a recovery USB stick SD card’ will appear.
- Press Ctrl + D to enable Developer Mode. Press Enter to confirm.
Step 2. Install Linux Environment
- Open Chromebook Settings.
- On the left side menu, click on Advanced and select Developers.
- Under Developers, find and turn on the Linux Development Environment.
Note: If you do not see the Linux option, it might be because your device does not support Linux apps.
- Click Next to start the Linux Development Environment setup.
- On the next screen, write a Username and set the disk size to 10 GB.
- Tap Install to start the Linux installation process.
- Upon completion, the Linux Terminal window will open on your screen.
- Now, type the following command in the Terminal window and hit Enter.
sudo apt-get update && sudo apt-get install virtualbox -y
- This command will update your package list and install VirtualBox on your Chromebook.
Step 3: Download Windows 11 ISO
- Go to the official Microsoft Windows 11 ISO download page.
- Select the edition of Windows 11 you wish to install and confirm your choice.
- Choose the language and confirm it.
- Click the download link for the Windows 11 ISO file and save it to a known location in your Linux files.
Note: Make sure to move the downloaded ISO file to the Linux Files directory.
Step 4: Set Up Windows 11 in VirtualBox
- Open VirtualBox from your Linux apps.
- Click New to create a new virtual machine.
- Name your VM as Windows 11.
- Select Microsoft Windows for the type and Windows 11 for the version.
- Allocate RAM and CPU cores. Aim for at least 4GB (4096 MB) if your Chromebook can handle it without affecting performance.
- When asked for a hard disk, select Create a virtual hard disk now and follow the prompts to allocate disk space.
- Choose Create a virtual hard disk now.
- Click Next and select the recommended file type (VDI).
- Choose Dynamically Allocated.
- Set the size of the virtual hard disk (60 GB or more recommended).
- Click Create.
- Select your new virtual machine and click Settings.
- Go to the Storage section, click on the empty optical drive icon under Controller: IDE, and then click on the disk icon on the right to choose a disk file.
- Select the Windows 11 ISO file you downloaded earlier.
- Click OK to close the settings.
Step 5: Install Windows 11 on Chromebook
- Start the Virtual Machine.
- Click Start to boot up the virtual machine, which will launch the Windows 11 installation process.
- Choose your language, time, and keyboard preferences, then click Next.
- Click Install now.
- If prompted, enter your Windows product key, or choose ‘I don’t have a product key’ to proceed.
- Select the version of Windows 11 you wish to install and accept the license terms.
- Choose Custom: Install Windows only (advanced) for the type of installation.
- Complete the rest of the Windows 11 installation.
Step 6: Configure Windows 11
Once the installation is complete, you can configure Windows 11 settings such as region, keyboard layout, and account setup.
With this guide, you’ve successfully installed Windows 11 on your Chromebook without a USB drive. This installation through VirtualBox offers a versatile way to get Windows applications running on your device while retaining Chrome OS functionality. Enjoy exploring Windows on your Chromebook!
Method 2: Install Windows 11 on Chromebook with USB
To run Windows 11 on your Chromebook with USB, we’ll use a bootable USB drive, which provides a straightforward and reliable method for installation. First, let’s go over the necessary steps to prepare your Chromebook and create a bootable USB drive for a smooth installation process.
What You’ll Need
- A Powerful Chromebook with an Intel or AMD x86-based processor.
- A USB drive with at least 16GB of storage.
- Stable Internet Connection
- A second computer with Windows to create a bootable USB.
- A Windows 11 installation ISO file.
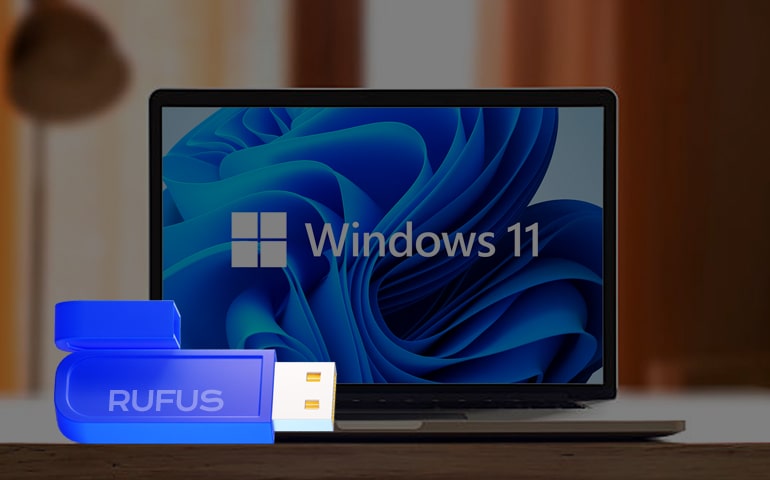
- Rufus or a similar tool for creating a bootable USB
Step-by-Step Installation Guide
Step 1. Enable Developer Mode
- Power off your Chromebook.
- Press Esc + Refresh + Power to enter Recovery Mode.
- Press Ctrl + D to turn on Developer Mode.
- Press Enter and wait for the system to reboot.
Step 2. Create a Bootable USB for Windows 11
- Download the Windows 11 ISO file.
- Create a bootable Windows 11 USB drive using Rufus.
Step 3. Configure Chromebook for Boot from USB
- Turn off your Chromebook.
- Press Esc + Refresh + Power to enter Recovery Mode.
- Press Ctrl + D to skip the OS verification.
- Press Ctrl + L to enter the BIOS setup.
- Change the boot order to prioritize the USB drive.
Step 4. Install Windows 11 on Chromebook with Bootable USB
With your Chromebook configured and the bootable USB ready, it is time to install Windows 11.
- Insert the USB drive into your Chromebook.
- Turn on the Chromebook and press any key when prompted to boot from USB.
- Follow the on-screen instructions to install Windows 11.
Bottom Line
Finally! This is how you can flash the Windows 11 Operating System on a Chromebook without USB and with USB. This process can give you access to various apps and features.
If you are stuck during installation, if your USB is not recognized, or if you are missing some drivers, then please comment below. We’re here to help you out.


2 thoughts on “How to install Windows 11 on Chromebook”
@emmanuelappiah-kusi6411
0 seconds ago
I have been able to install Windows but when I turn the computer on, it keeps running in developer mode. What should I do for it to run on Windows 11?
1. Restart your Chromebook and press Esc or Ctrl + L during startup to enter the BIOS/UEFI menu (the exact key might vary depending on your Chromebook model).
2. Once in the BIOS/UEFI, navigate to the boot order or boot priority section.
3. Move Windows Boot Manager or the partition where Windows 11 is installed to the top of the list.
4. Save your changes and exit the BIOS/UEFI.
If this doesn’t work, do let me know.