Update Galaxy Ace 2 I8160 to Android 5.1.1 Lollipop CM 12.1 ROM. Few years back Galaxy Ace launched by Samsung was ruling the Android market. Every other person owned this low budget phone due to its amazing features. Galaxy Ace 2 I8160 is the successor of Galaxy Ace with slightly improved specs and features.
Its features include Dual-core 800 MHz processor with NovaThor U8500 chipset, 4 GB of internal memory, 768 MB RAM, TFT capacitive touchscreen with 480 x 800 pixels resolution, 5-megapixel camera with LED flash and many more. Besides, it was launched with Android 2.3.6 Gingerbread OS which was officially upgradable to Android 4.1.2 Jelly Bean OS.
After Jelly Bean, Samsung stopped further updates for this smartphone which disappointed many users. There was only one way to enjoy the latest OS on Galaxy Ace 2, which was flashing unofficial custom ROMs. Last year the Cyanogenmod community developed CM 11 custom ROM based on Android 4.4 KitKat OS, especially for Galaxy Ace 2 I8160 smartphone.
So after the release of the latest Android 5.0 Lollipop, there were many hopes that this latest OS will be available for Ace 2 soon. But days passed by and there was no sign of any custom ROM till last month when a recognized developer from the XDA community launched the latest, stable and full functioning Android 5.1.1 based CyanogenMod 12.1 custom ROM for Samsung Galaxy Ace 2 I8160 smartphone. Here, we’ll discuss easy and simple steps on how to update Galaxy Ace 2 I8160 to Android 5.1.1 CM 12.1.
Disclaimer
Try this process at your own risk. If any kind of damage happens to your device then neither no I nor the developers of this ROM will be held liable for that. Although there are the least chances that your phone will get damaged. Still, I recommend you to implement every step as mentioned without a single mistake.
Caution
This Cyanogenmod 12.1 ROM Android 5.1.2 OS is only for Samsung Galaxy Ace 2 with model number GT-I8160 and GT-I8160P. Do not flash this on any other device or variant. It might brick your device.
Requirements
- Charge your phone battery to a minimum of 60%.
- Backup your contacts, messages, call logs, APN settings, memos etc.
- Backup EFS folder present in your phones system directory.
- Make sure you have installed mobile USB drivers on your PC.
- Root install Clockworkmod or TWRP recovery on your device.
Downloads
Steps to install Android 5.1.1 Lollipop on Galaxy Ace 2
- Download both the zip package files in a folder on your PC. Do not extract them.
- Now connect your Galaxy Ace 2 to PC and copy both the downloaded files on your phones SD card.
- Safely disconnect the phone from PC & switch it off completely.
- Now you need to enter your phone into CWM recovery mode. Hence, press and hold the Volume up + Home button (middle button) + Power button together.
- Touch won’t work in recovery mode. Hence, use Volume keys for navigation and the Home button for selection.
- As soon as you land into recovery, firstly make a Nandroid Backup of your ROM.
- After that, navigate to the ‘wipe data/factory reset’ option and on the next screen select ‘wipe cache partition’ option.
- This will clear all the data & caches from your phones internal memory respectively.
- Now go to the Advanced option.
- Select Reboot Recovery option on the next page.
- Wait until you boot again into recovery.
- Let’s move to the actual Android 5.1.1 Lollipop based CM 12.1 ROM flashing process.
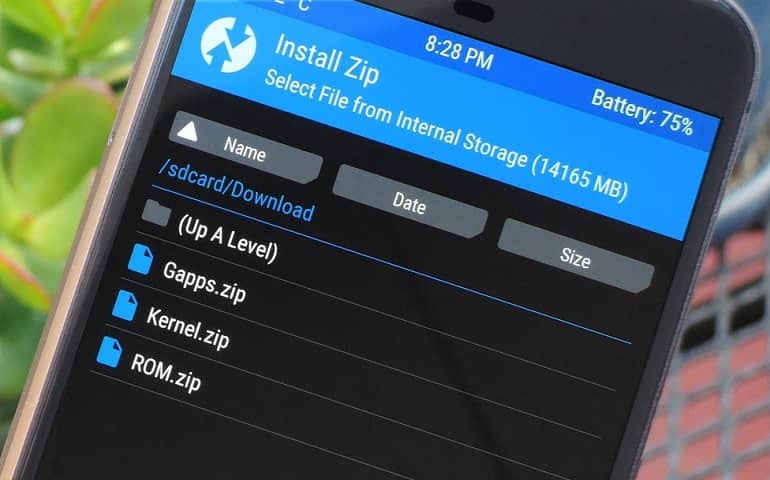
- Select the ‘install zip from SD card’. Then on the next screen select ‘choose zip from SD card’ option.
- As soon as you select this option, you’ll see all the data present on your phones SD card.
- Just select the CM 12.1 ROM which you’ve copied earlier using the home button.
- On the next page select the ‘Yes’ option to start the actual Android 5.0 Lollipop flashing process.
- It will take some time to complete successfully. So wait and be patient.
- Again select ‘wipe data/factory reset’ option and ‘wipe cache partition’.
- This step is must solve the boot loop issue.
- Similarly, flash the Google Apps (GApps) as you’ve flashed this Cyanogenmod 12.1 custom ROM.
- Just remember not to wipe data/cache after flashing them.
- Everything completes here, just restart your Galaxy Ace 2 by selecting ‘reboot system now’ option.
- Note that the first boot takes more time to start than usual. But don’t worry it’ll be normal after a couple of boots.
Conclusion
Finally! You have successfully flashed Android 5.1.1 Lollipop based Cyanogenmod 12.1 Custom ROM on your Samsung Galaxy Ace 2 i8160 / i8160P. The same can be confirmed from Menu > Settings > About Phone. Note that this Android 5.1.1 ROM is not an official firmware from Samsung but an unofficial custom ROM. Lastly, if you need any help regarding the procedure mentioned above, then feel free to ask me through the comments below.


11 thoughts on “Install Android 5.1.1 Lollipop on Galaxy Ace 2 GT-I8160”
Super dadu kae ghate nae
Good
this is good but rom is gingerbread base 🙁 i cant install facebook messenger with video call
Using it for some time now; working really fine with 5.1.1/CM12.1!
Loading google (gapps suite) is NOT a good idea on this “old” phone as this leaves very little space for apks and slows down the machine, if not immediately, after some weeks. It’s time to switch away from google.
It is much easier than expected: look for another provider of mail/adressbook and the same or other calendar provider to avoid promiscuity, making sure that these work with dav syncing. Install an setup davdroid or equivalent and you are done.
My Ace2 is not fast and with confortable space (still more than 300 MB with some heavy, classic apks already installed).
don’t flash this rom on your main device, it’s laggy af, at least few days later
Yeah……this is good…. i do this all process ….and it run good…..thanks……………………..
Good
Thanks, I’ve been trying to install Android 5 on my Ace 2 and this is the only site that’s worked for me
Glad 🙂
which gapps should i install 5.0 or 5.1?
and when i reboot recovery from advanced it reboots the whole device and sends me to setting up my phone
Use Android 5.1 version of gapps. Also install updated twrp recovery to solve the issue